Choosing the best & healthiest bread + FREE home made bread recipe
Today I would like to share with you some useful information regarding eating bread.
Eating bread is a millennial old habit, so old in fact, that its origins are almost lost in the mists of time.
Even today, bread is more than simple food stuff. It’s a heritage to be protected. A food that accompanies each meal from breakfast to dinner, in many countries. So much so, that we must respect biodiversity, the environment and the raw material.
Nutritionally bread has been haunted for the past few years, mainly because of the troublesome gluten as well as because bread is a pure source of carbohydrates. And we know that eating too much of carbohydrates, especially the refined, simple ones make us put on weight.
As with everything; balance is the key. I think that good quality bread is a healthy addition to our diet, as long as we know how to chose a good bread.
Because in recent years food industry has been serving us something that we aren’t entirely happy with; which is highly processed bread with too many chemicals added and no flavour whatsoever. Bread that made us feel bloated and left us feeling hungry.
Let’s focus on how easy is it to recognise and choose really good bread?
Below there is a healthy home made bread recipe for you:
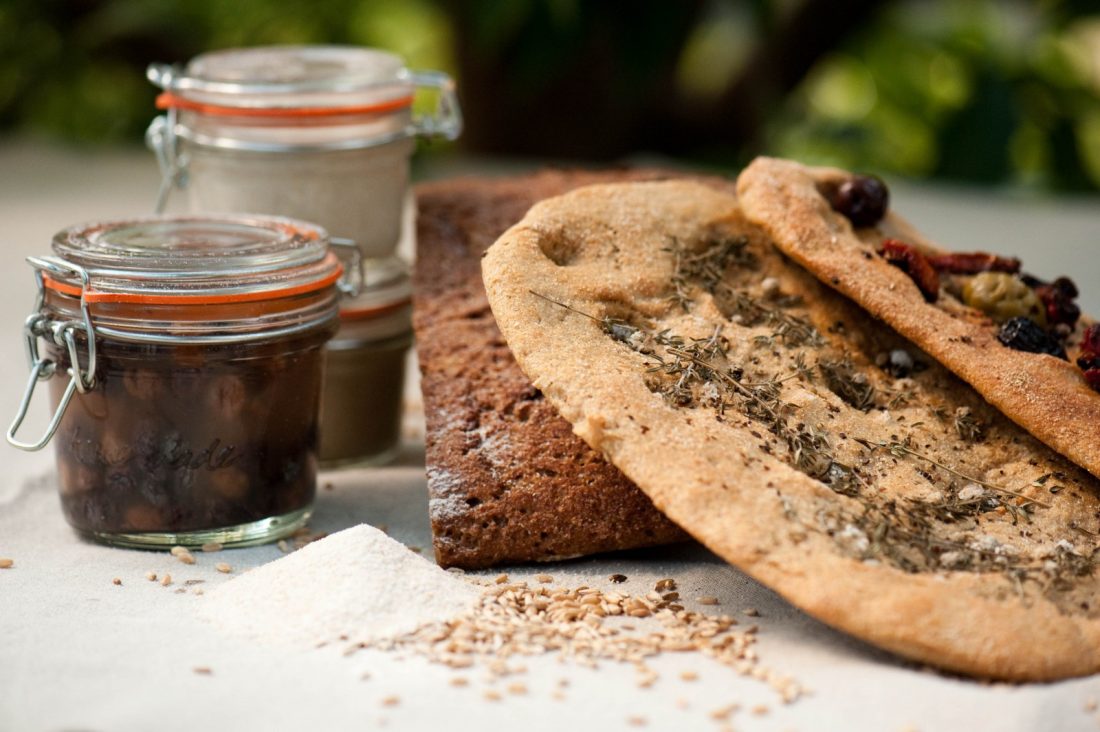
Home Made Yeast
Preparation: 5 minutes
Completion: 1 week or longer
Special equipment: Preserving jar
Ingredients
½ cup sultanas (or raisins figs, dates)
2 cups water
2 cups flour
Method
- Pour water over dried fruits and place into a jar.
- Place jar in a warm spot and wait for 5 – 7 days until the water ferments and starts to bubble, during which time the water will become very cloudy.
- Every day stir the liquid so no mould will grow on top (this can happen sometimes especial in winter).
- Strain the fermented fruit juice off and mix with the flour.
- Store at room temperature for another 24 – 48 hours, before using.
Recipe Notes:
- The dough when left for several days longer will eventually become sour dough.
- To keep the natural yeast alive you remove a little of the dough and mix with equal amounts of water and flour.
- Although when kept growing on water and flour, the mix will eventually loose the lovely fermented dried fruit flavour.
- If you don’t bake every day, you can bake every couple of weeks and freeze the bread.By growing and using your own yeast you will always have the lovely fermented fruit flavour in your bread.
- Another method is to grow the dough with fermenting grape or apple juice or a chemical free beer or cider and in this case you replace the water with raw fruit juice or beer and you will not loose out on the fruit, beer or cider flavour.
Starter Dough
This dough is the first step to making sour dough. Professional bakers call it Poolish. It takes considerably less time than a sour dough and is needed for white breads like rolls, chiabatta or flat bread etc. If you want to speed up the growing process add half a cup of natural grown yeast or a pinch of a dried one.
Preparation: 25 minutes
Completion: 25 minutes
Makes: 4 serves
Ingredients
1 cup flour
1 cup of water
Method
- Mix the flour and water together in a bowl, cover with a damp cloth and rest in a warm place for at least 24 hours.
- The dough will rise as soon as it starts the fermentation process.
Sour Dough Notes
- To make sour dough you make starter dough and grow it for 3-5 days during which time it will become more acidic in flavour.
- To keep the natural sour dough alive you remove a little dough and mix with equal amounts of water and flour.
- To store sour dough you can keep it in your fridge for several days or weeks.
- Another method is to mix the left over with enough flour to turn it into a really dry crumbly mix. Then when you want to use it you add an equal amount of water, mix it, rest it for 12 hours and bacteria becomes alive again.
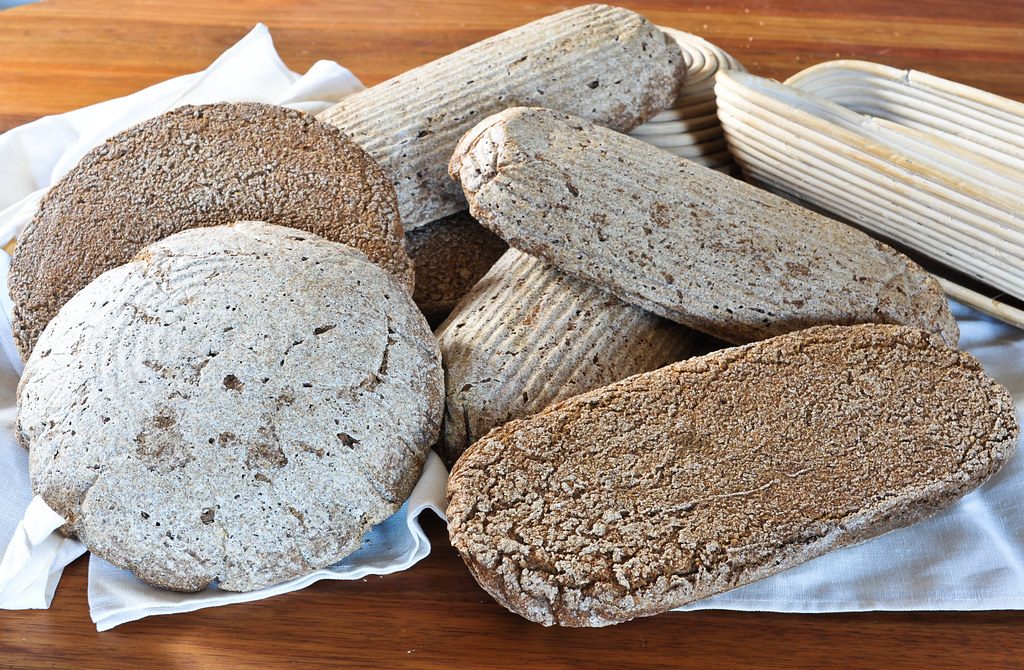
Rye and Wheat Loaf
Preparation: 30 minutes
Completion: 12 – 19 hours
Makes: 4 large loaves
Ingredients – First Dough
250 mls sour dough
750 grams wheat flour
750 grams rye flour
Water
Ingredients – Main Dough
750 grams Wheat flour
750 grams Rye flour
1 cup natural grown yeast (use 1 tablespoon of dried yeast as replacement)
Water
Flour to shape the loaves
Salt
Method – First Dough
- Mix sour dough with some water.
- Add spelt and rye flour and as much water to create sticky dough (the flour will thicken as it soaks through).
Method – Main Dough
- Mix spelt and rye flour and as much water to create a sticky dough (the second dough should be slightly firmer than the first).
- Place the dough’s into separate bowls, cover with a damp cloth and let ripen overnight (8 – 12 hours). The next morning place both dough’s into one bowl.
- Add the yeast (if you use dried yeast dissolve it before in a little water) and knead well together (the dough should quite sticky).
- Add salt to season and knead for 5 to 8 minutes (the dough will be very sticky).
- Line two trays with grease proof paper. Place plenty of flour onto your work surface. Place a quarter of the dough onto the floured surface and quickly mould to a loaf shape.
- Place the loaf onto a deep tray and brush it with water, cover with a damp cloth (the cloth should cover the tray but not touch the dough).
- Repeat this process with the remaining three quarters.
- Rest the four loaves on a warm place for three to five hours.
- Just before the proofing process is over heat your oven to 170 degrees.
- Brush the bread loaves once more with water and bake for 40 – 50 minutes


